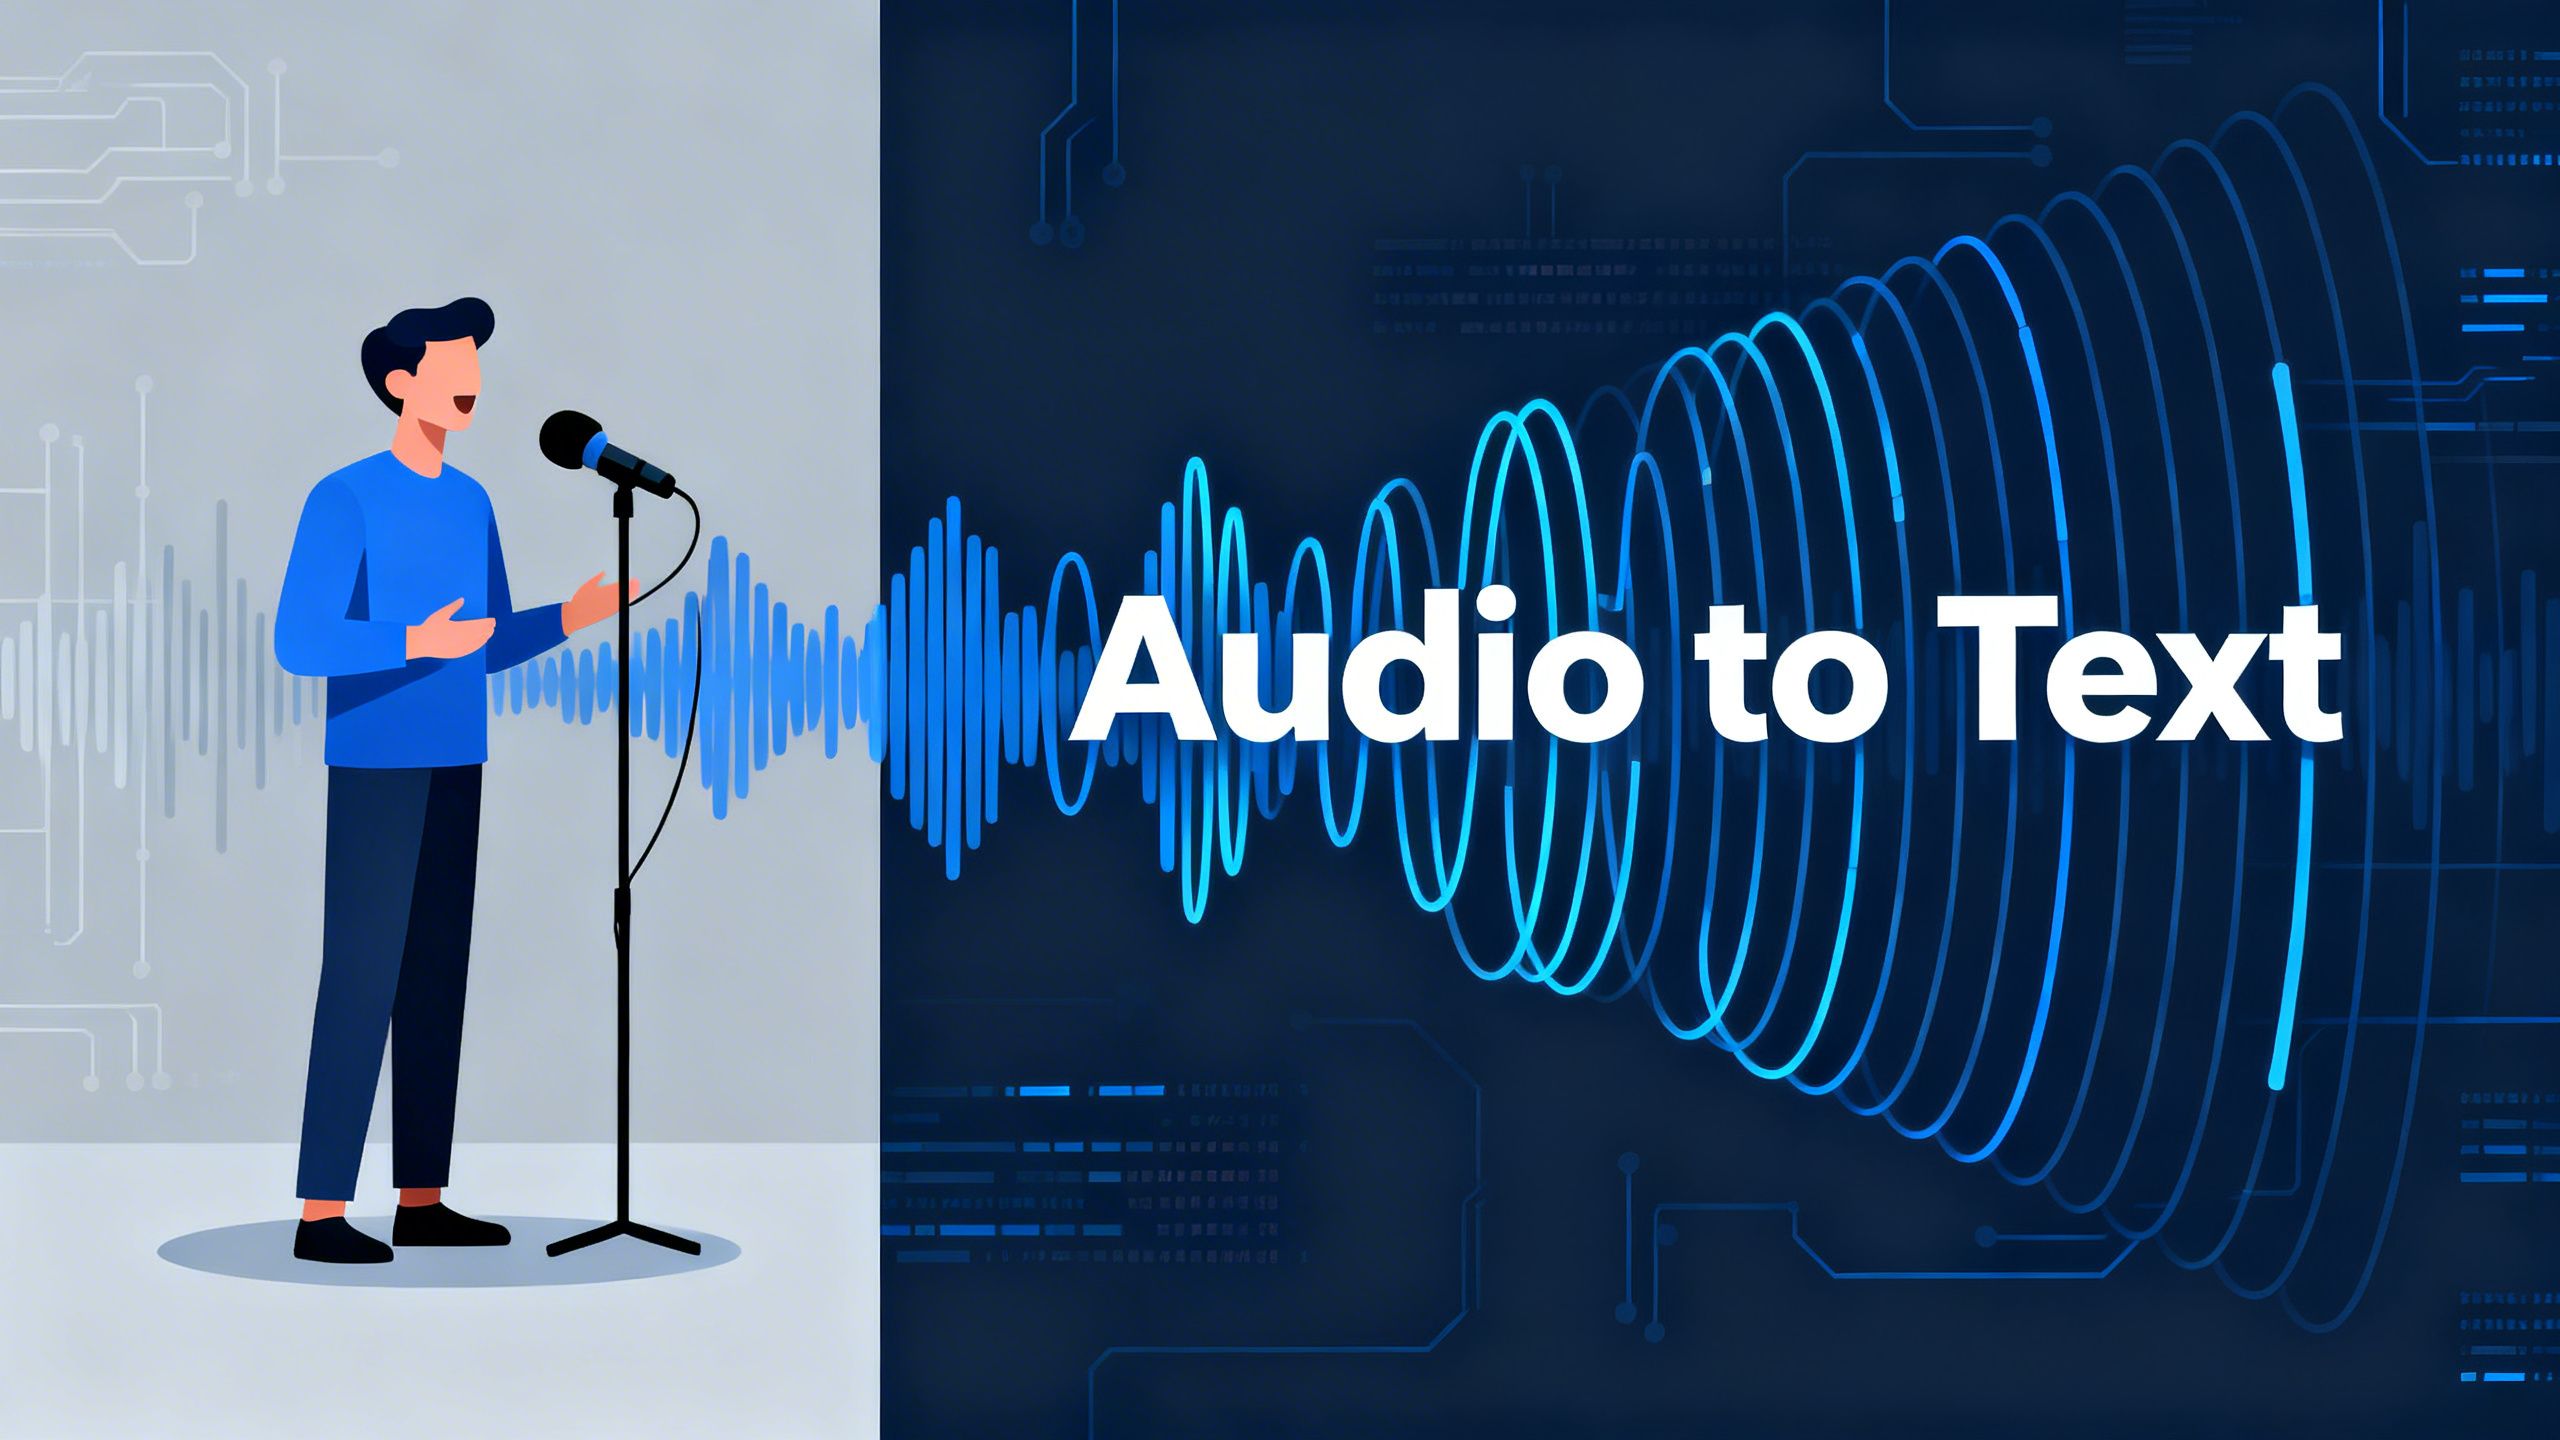
Ever needed to turn spoken words into written text? It’s a common need, whether you’re a student, a podcaster, or just trying to keep records. Figuring out how to transcribe audio to text can seem a bit much at first, but there are actually some pretty straightforward ways to do it. We’re going to look at seven simple methods that can help you get that audio into a readable format without too much fuss. Let’s get this done.
Key Takeaways
Riverside is a tool that can transcribe as you record or from uploaded files, good for creators.
Otter.ai offers automated transcription with features like speaker identification.
Google Docs Voice Typing is a free, simple option for real-time dictation.
Zoom and Microsoft Teams have built-in transcription features for meetings.
YouTube Studio can automatically transcribe uploaded videos, making content accessible.
1. Riverside
Riverside is a platform that really shines when you’re looking to record and transcribe audio, especially if you’re creating content like podcasts or videos. It’s designed to capture high-quality audio and video, and then it automatically transcribes it for you. This means you don’t have to spend hours listening back to your recordings to type everything out.
One of the standout features is its text-based editing. After Riverside transcribes your audio, you get a text document that directly corresponds to your recording. If you want to remove something, you just delete the text, and it’s gone from the audio. It’s pretty neat and makes editing much faster than traditional methods.
Here’s a quick look at how it works:
Record your audio or video: Use Riverside’s studio to record yourself or with guests. It captures separate tracks for each participant, which is great for editing.
Automatic Transcription: Once you finish recording, Riverside processes the audio and generates a transcript. This process is quite fast.
Download your transcript: You can download the transcript in formats like TXT or SRT. The SRT format is particularly useful for adding subtitles to videos.
Riverside aims for high accuracy in its transcriptions, often claiming up to 99%, and it can differentiate between speakers. This is a big help when you have multiple people talking. They also have a mobile app, so you can record and transcribe on the go, though downloading the transcript usually happens through their web platform.
For anyone producing regular audio or video content, having a tool that handles both recording and transcription in one place can save a lot of time and effort. It simplifies the workflow significantly.
2. Otter.ai
Otter.ai is a popular choice for turning spoken words into written text, and it uses artificial intelligence to do the heavy lifting. It’s pretty good at figuring out who’s talking, which is a big help if you’re working with interviews or group discussions.
Here’s a quick look at what Otter.ai offers:
Real-time Transcription: Otter can transcribe audio as it’s being recorded, showing you the text as the conversation happens.
Speaker Identification: It does a decent job of distinguishing between different speakers, labeling them in the transcript.
Searchable Transcripts: Once you have a transcript, you can easily search through it for specific words or phrases.
Collaboration Features: Multiple people can access and edit transcripts, which is handy for team projects.
The accuracy of Otter.ai is generally quite high, especially with clear audio. However, like most AI transcription tools, it can sometimes struggle with heavy background noise, multiple people talking at once, or strong accents. It’s a solid option for getting a first draft of your transcript quickly, and then you can go back and clean it up.
Otter.ai is designed to make the process of converting audio to text more accessible. It aims to provide a reliable way to document conversations and content without requiring extensive manual effort. The platform is built with user-friendliness in mind, allowing individuals and teams to get started with transcription without a steep learning curve.
3. Google Docs Voice Typing
Google Docs Voice Typing is a built-in feature that allows you to dictate text directly into a Google Document. It’s a straightforward method for converting spoken words into written text in real-time, making it quite handy for quick notes or drafting content.
This tool is particularly useful for transcribing audio when you are present and can play the audio near your device’s microphone. While it doesn’t directly process audio files, you can play your audio recording aloud and have Voice Typing capture it. This approach works best with clear audio and minimal background noise.
Here’s how to use it:
Open a new or existing Google Document.
Go to the ‘Tools’ menu and select ‘Voice typing’.
Click the microphone icon that appears on the screen. If prompted, allow your browser to access your microphone.
Play your audio file near your computer’s microphone. Speak clearly into the microphone yourself if you are dictating directly.
Click the microphone icon again to stop.
While Google Docs Voice Typing is a free and accessible option, it’s important to note its limitations. It generally lacks speaker identification, meaning it won’t tell you who is speaking. Furthermore, its accuracy can decrease significantly with background noise, multiple speakers, or strong accents. For more complex or professional transcription needs, you might find this method less suitable than dedicated transcription software.
This method is best suited for personal use or situations where a rough draft is sufficient and editing can be done later. It’s a good starting point for beginners who want to experiment with speech-to-text technology without installing new software.
4. Google Live Transcribe
Google Live Transcribe is a mobile application designed for real-time speech-to-text conversion. It’s particularly useful for individuals who are deaf or hard of hearing, but it also serves as a handy tool for anyone needing to quickly capture spoken words as text.
This app works by listening to ambient sound through your device’s microphone and displaying the transcribed text on your screen almost instantly. It’s a free, straightforward way to get a text version of a conversation or spoken content as it happens.
While it excels at live transcription, it’s important to note its limitations. Google Live Transcribe is primarily a dictation tool and does not typically record audio files for later use or offer advanced features like speaker identification. Its accuracy can also be affected by background noise, accents, or multiple speakers talking at once. For more robust transcription needs, especially for recorded audio files, other solutions might be more appropriate. However, for immediate, on-the-go transcription needs, it’s a solid option.
Here’s a quick look at its primary function:
Real-time Transcription: Converts spoken words into text as they are spoken.
Accessibility Focused: Aids individuals with hearing impairments.
Mobile Application: Available on Android devices.
If you’re looking for a tool that can handle recorded audio and provide more detailed transcripts, you might want to explore options like AI podcast editing software which offer more advanced features for content creators.
5. Zoom
Zoom, a platform many of us use daily for virtual meetings, also offers built-in transcription capabilities. While not its primary function, this feature can be quite handy for capturing the essence of your discussions without needing a separate tool. It’s particularly useful for quickly generating a record of meetings for later review or for participants who couldn’t attend.
To access this, you’ll typically need to enable the closed captioning or transcription feature within your Zoom settings before the meeting starts. During the meeting, you can then choose to record the transcript. After the meeting concludes, the transcript file is usually saved alongside your meeting recording. You can also start a note directly from the Zoom desktop app for personal transcription or to transcribe in-person meetings. Enabling “My notes” provides access to these transcriptions. This feature is convenient for those already invested in the Zoom ecosystem.
However, it’s important to manage expectations. Zoom’s transcription is generally a live captioning service that can be saved. The accuracy can vary depending on audio quality, background noise, and the clarity of speakers. It might not always provide the same level of detail or speaker differentiation as dedicated transcription services. For more critical or formal documentation, you might find its output requires some editing.
Here’s a basic rundown of how it generally works:
Enable Transcription: Go to your Zoom account settings online and enable the “Closed Captioning” or “Transcription” feature. You might need to select “Save Captions” as well.
During the Meeting: Look for the “CC” or “Live Transcript” button in the meeting controls. Click it and select the option to enable it for all participants or to save the transcript.
After the Meeting: Once the meeting ends and the recording is processed, you should find a
.vttor.txtfile containing the transcript. This file is usually saved in the same folder as your meeting recording.
While Zoom’s transcription is a good starting point, especially for informal notes, remember its limitations. For highly accurate, polished transcripts, especially for professional use, you might need to consider more specialized tools.
6. Microsoft Teams
Microsoft Teams, a platform many already use for daily communication and collaboration, also offers built-in transcription capabilities. This feature is particularly useful for meetings, allowing participants to follow along with live captions or review a full transcript afterward. It’s a convenient way to ensure meeting content is captured and accessible.
To utilize this function, you typically need to start a meeting and then select the option to record. Once recording, you can enable live captions, which will display a real-time transcription of the conversation. After the meeting concludes, the recording, along with its generated transcript, can be accessed by participants. The quality of the transcription is generally good for clear audio, but like many automated tools, it can sometimes struggle with heavy accents or significant background noise.
Here’s a basic overview of how to access transcription features within Teams:
Start a new meeting or join an existing one.
Locate and click the “Record and transcribe” button in the meeting controls.
Choose “Record only” or “Transcribe only,” or both.
Live captions can be toggled on or off during the meeting for immediate viewing.
While Teams is not a dedicated transcription service, its integration makes it a handy tool for capturing meeting discussions. For more detailed administrative configurations regarding these features, you can refer to Microsoft Teams documentation.
The ability to generate transcripts directly within a familiar collaboration tool streamlines workflows and improves information retention for team members.
7. YouTube Studio
If you’re already uploading videos to YouTube, you can use YouTube Studio to generate a transcript for your content. This is a pretty straightforward method, especially if you’re a content creator who uses YouTube as a primary platform. It’s a built-in feature, so there’s no need to download extra software or sign up for a new service if you’re already in the YouTube ecosystem.
Here’s how it generally works:
Upload your video to YouTube if you haven’t already. Make sure it’s processed and ready.
Access YouTube Studio by going to studio.youtube.com and logging in with your account.
Navigate to the ‘Subtitles’ section in the left-hand menu. You’ll see a list of your videos.
Select the video you want to get a transcript for. Click on the video title or the subtitle icon.
Find the auto-generated captions. YouTube automatically creates captions for most videos. If they aren’t there, you might need to wait a bit or check your video’s language settings.
Edit or download the transcript. You can often edit the auto-generated captions for accuracy. To download, look for an option to download the transcript file, usually in SRT or TXT format.
This method is particularly useful for repurposing video content into written material. While the accuracy can vary depending on audio quality and clarity, it’s a convenient starting point. You can then take the downloaded transcript and edit it further in a word processor or use it as a basis for blog posts, articles, or social media updates. It’s a good way to make your video content more accessible and searchable.
YouTube Studio is your main hub for managing your channel. It’s where you can upload videos, see how they’re doing, and connect with your audience. Think of it as your video command center! Want to learn more about making your channel shine? Visit our website for tips and tricks.
Wrapping Up Your Transcription Journey
So, we’ve looked at a few ways to get your audio into text. Whether you’re using a fancy app that does it all for you or just sitting down with a good old-fashioned word processor, there’s a method out there that fits what you need. Remember, clear audio makes for easier work, and a quick edit at the end can fix any little mistakes the software might miss. Don’t get too bogged down in finding the ‘perfect’ tool right away; pick one that seems manageable and give it a try. You might be surprised how much time you save and how useful having a written record of your audio can be.
Frequently Asked Questions
What is audio transcription?
Audio transcription is like turning spoken words from a recording into written text. Imagine listening to a podcast or a meeting and then having all those words written down so you can read them. It helps make audio content easier to understand, search, and share.
Why is transcribing audio important?
Transcribing is super helpful for many reasons! It makes content accessible for people who can’t hear well, helps you find specific information quickly by searching the text, and makes your content easier to share and use for things like websites or videos. It’s also great for keeping records.
What's the difference between manual and automatic transcription?
Manual transcription is when a person listens to the audio and types it all out. It’s usually very accurate but takes a lot of time. Automatic transcription uses computer programs (like AI) to do the typing. It’s much faster but might need a little editing to fix mistakes.
Can I transcribe audio for free?
Yes, there are several ways to transcribe audio for free! Tools like Google Docs Voice Typing, Google Live Transcribe, and even YouTube Studio (if you upload a video) offer free transcription features. Some other services also have free basic options.
How accurate are automatic transcription tools?
Automatic transcription tools have gotten really good, but they aren’t always perfect. They work best with clear audio, minimal background noise, and when people speak clearly. You’ll often need to review the text and make a few corrections to ensure it’s exactly right.
What should I do if I have multiple people speaking in my audio?
When you have multiple speakers, some transcription tools are better than others at figuring out who is saying what. Tools like Riverside or Otter.ai often try to label different speakers. For very important recordings, you might need to manually edit the transcript to clearly mark each speaker.