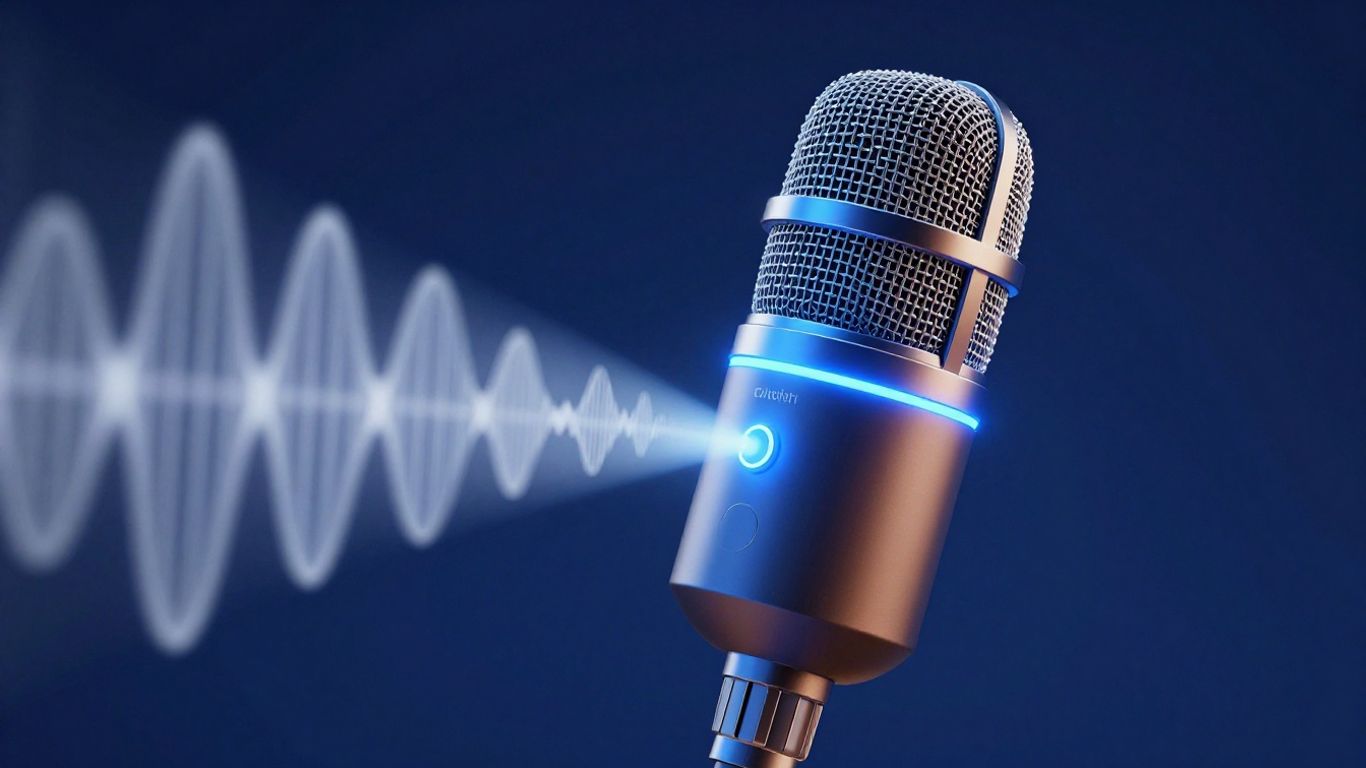
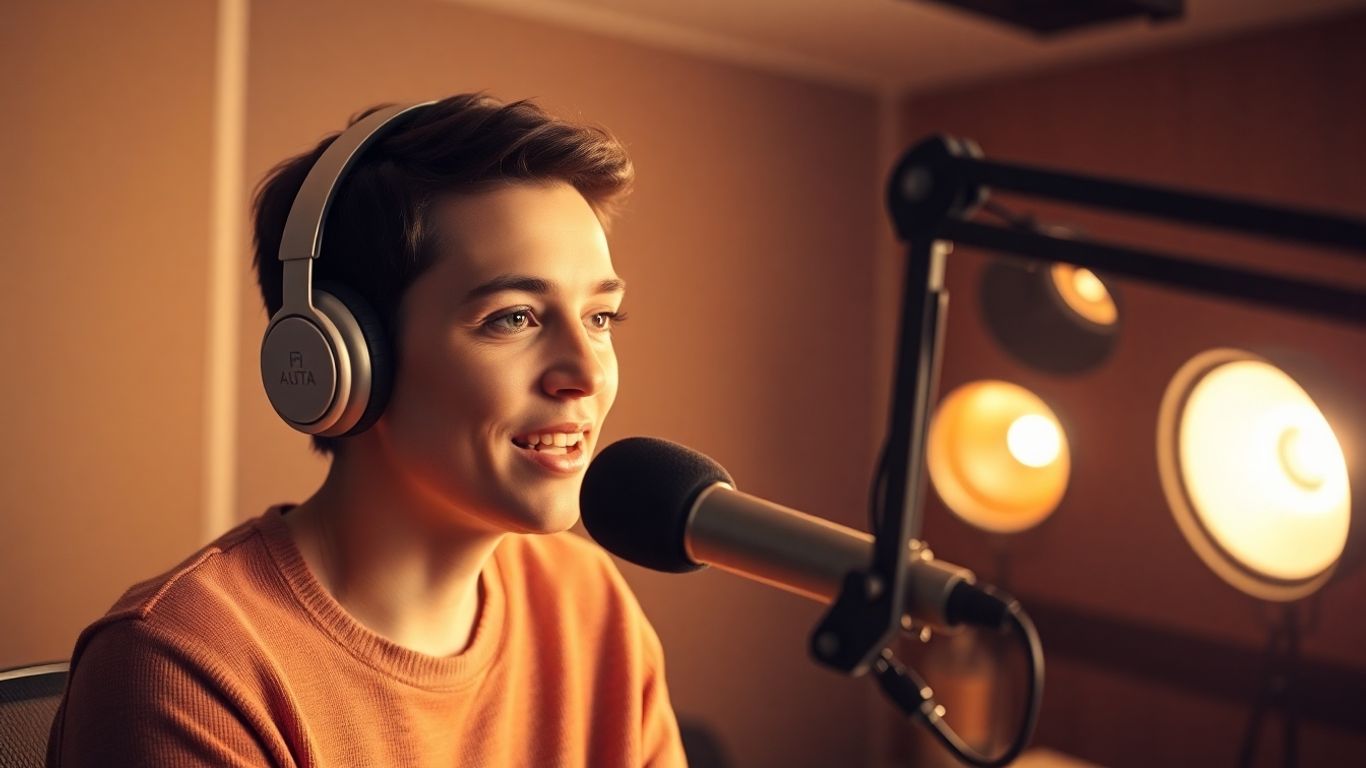
Thinking about starting a podcast or want to make your current one look more professional? Lighting is a big part of that, and honestly, it’s often overlooked. Good podcast lighting can seriously change how your show comes across. We’ll go over some simple ways to get your lighting looking great, whether you’re recording from home or have a dedicated studio. Let’s get your podcast looking as good as it sounds.
Key Takeaways
-
Understanding the basics of podcast lighting, like balancing visibility and aesthetics, is important for a professional look. Natural light can work, but artificial sources offer more control.
-
Mastering techniques like three-point lighting, Rembrandt, and butterfly lighting can add dimension and mood to your podcast visuals.
-
Setting up your podcast lighting involves placing key, fill, and backlights strategically, managing glare, and considering your specific space.
-
Creative touches like colored gels, practical lights, and patterns can make your podcast stand out, adding personality and visual interest.
-
Technical aspects such as color temperature, Power over Ethernet (PoE), and DMX control can significantly improve your podcast lighting setup for a polished, professional result.
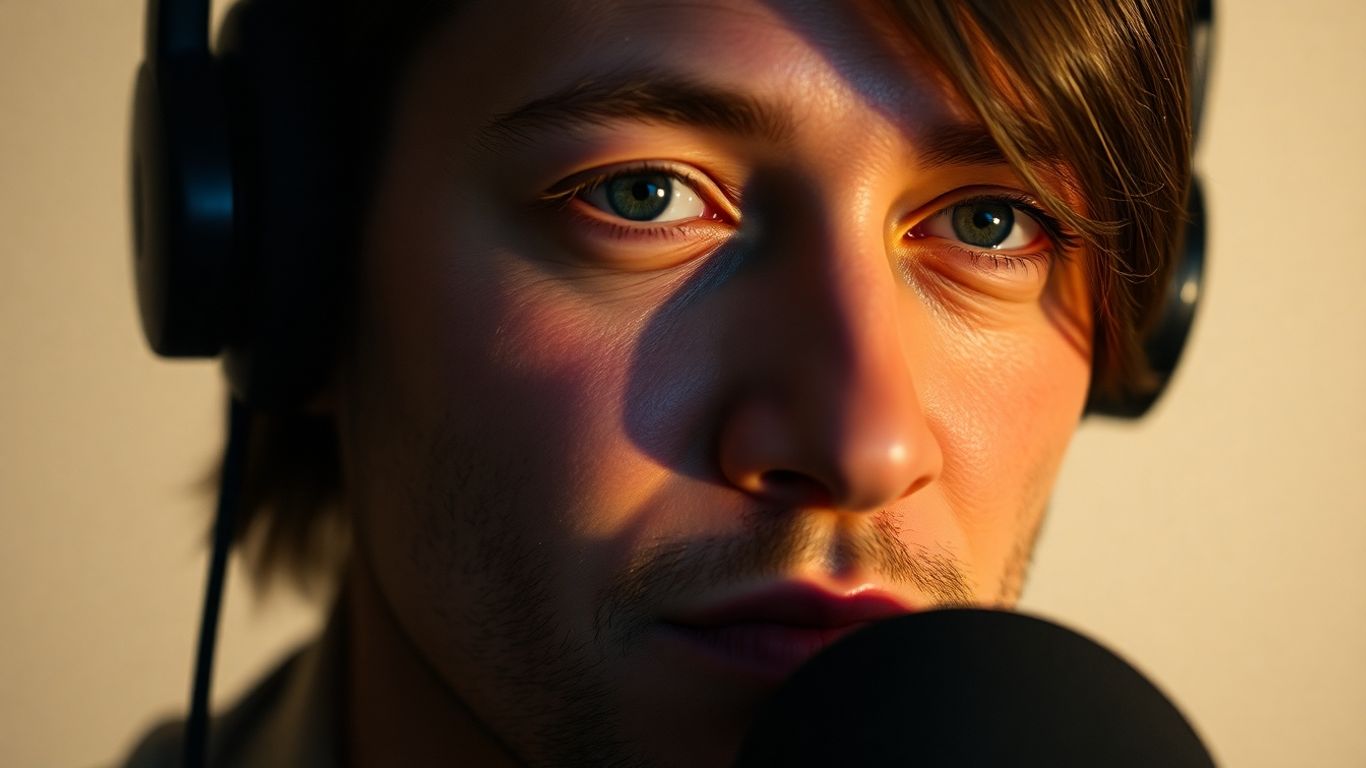
Understanding The Fundamentals Of Podcast Lighting
The Essential Role Of Lighting In Podcast Production
When people listen to a podcast, they often form a mental picture of the host and any guests. While audio quality is king, the brain naturally looks for visual cues. Poor lighting can make your video look dull, which detracts from the overall quality of your content. On the other hand, good lighting helps your podcast look more professional and can even set the mood for your show. Think of lighting as a way to tell a story visually, guiding where your audience looks and what they feel about the content they’re watching. In today’s crowded media landscape, paying attention to how you light your podcast is important; otherwise, viewers might just click away, much like tuning out a radio station with bad reception.
Balancing Visibility And Aesthetics
Getting your podcast lighting right means finding a sweet spot between making sure everyone is clearly visible and making the scene look good. It’s not just about making things bright; it’s about creating a look that is both polished and comfortable for everyone involved, especially during longer recording sessions. You want your video to look professional, but not so bright that it’s uncomfortable to watch. You also want to avoid harsh shadows, but you don’t want the lighting to look flat or uninteresting. It’s a careful balance to achieve a look that is both appealing and natural.
Natural Versus Artificial Light Sources
When setting up your podcast lighting, you have two main options: natural light from windows or artificial light from lamps and fixtures. Natural light can be beautiful and free, but it’s also unpredictable. The sun moves, clouds come and go, and you can’t control it. This makes it hard to get consistent results, especially if you’re recording at different times of the day. Artificial lights, however, give you complete control. You can adjust their brightness, color, and direction to create the exact look you want, every time. This consistency is why most podcasters eventually move towards using artificial lighting for their setups, even if they start with natural light.
Here’s a quick comparison:
|
Feature |
Natural Light |
|---|---|
|
Availability |
Free, but inconsistent |
|
Control |
Very limited |
|
Predictability |
Low |
|
Best Use |
Occasional, for a specific look |
|
Feature |
Artificial Light |
|---|---|
|
Availability |
Requires purchase, consistent |
|
Control |
High (brightness, color, direction) |
|
Predictability |
High |
|
Best Use |
Primary lighting source |
Mastering Key Lighting Techniques For Podcasts
Getting the lighting right for your podcast is more than just making sure people can see you; it’s about shaping the mood and professionalism of your show. Several established techniques can help you achieve a polished look, moving beyond simple illumination to create visual interest and depth.
The Three-Point Lighting System Explained
This is a foundational technique used across many visual media, and it’s a great starting point for podcasting. It involves three lights, each serving a specific purpose:
-
Key Light: This is your main light source. It should be positioned in front of you and slightly off to one side, typically at a 45-degree angle. The key light provides the primary illumination and defines the shape and form of your face.
-
Fill Light: Placed on the opposite side of the key light, the fill light is less intense. Its job is to soften the shadows created by the key light, reducing contrast and filling in darker areas. This helps to create a more balanced and pleasing look.
-
Backlight: Also known as a hair light or rim light, this light is positioned behind you, pointing towards your head or shoulders. It separates you from the background, adding depth and a subtle outline that makes you stand out. This separation is key to avoiding a flat, two-dimensional appearance.
Achieving Rembrandt Lighting Effects
Named after the famous painter, Rembrandt lighting is known for its dramatic and artistic quality. It’s achieved by positioning the key light higher and at a 45-degree angle to your face. The goal is to create a small triangle of light on the cheek of the side of your face that’s away from the light source. This technique adds a sense of mood and depth, making it suitable for podcasts that aim for a more serious or introspective tone.
Implementing Butterfly Lighting
Butterfly lighting, also called paramount lighting, is another portrait technique that works well for podcasts. For this, the key light is placed directly in front of you and slightly above eye level, casting a shadow directly under your nose that resembles a butterfly’s wings. This creates a flattering look with soft shadows and is often used for a more glamorous or classic aesthetic. It’s a simple way to add a touch of sophistication to your podcast visuals.
Optimizing Your Podcast Lighting Setup
Getting your podcast lighting just right is about more than just pointing a lamp at your face. It’s about carefully arranging your lights to make sure you look good on camera without making the viewing experience uncomfortable. This section will walk you through the practical steps to fine-tune your setup.
Strategic Placement Of Key And Fill Lights
The key light is your primary light source, and its position is critical. A common and effective placement is at a 45-degree angle to your subject, both horizontally and vertically. This angle helps create a pleasing shape on the face, avoiding the flat, shadowless look of a light directly in front, and also avoids the harshness of a light directly to the side. Think of it as a sweet spot that adds dimension without creating distracting shadows. The fill light works in tandem with the key light. Its job is to soften any shadows cast by the key light, particularly under the chin or around the nose. You’ll typically place the fill light on the opposite side of the key light, but at a lower intensity. You can even use a reflector as a makeshift fill light if you don’t have a second light. The goal here is to reduce contrast and make the overall illumination smooth and even. Experimenting with the intensity and angle of both lights is key to finding what works best for your specific face shape and desired look.
Utilizing Backlighting For Depth
Backlighting, also known as rim lighting or hair lighting, is a technique that separates your subject from the background. By placing a light behind you, aimed towards the back of your head or shoulders, you create a subtle outline. This outline helps your subject pop from the background, adding a sense of depth and professionalism to your video. It prevents you from looking like you’re pasted onto the background. You don’t want the backlight to be as bright as your key light; it should be just enough to create that separation. Too much backlight can wash out your image or create lens flare. Consider using a smaller, more focused light for this purpose. This is a simple addition that can make a significant difference in the overall polish of your podcast visuals.
Managing Glare And Reflections
Glare and reflections can be a real distraction in video. This is especially true if you wear glasses or have shiny surfaces in your shot, like a monitor screen or even jewelry. The primary culprit is often the placement of your lights. If a light source is directly reflecting off your glasses or a glossy surface and into the camera lens, it creates an unwanted bright spot. To manage this, try adjusting the angle of your lights. Sometimes, a slight shift in position is all it takes to eliminate the reflection. You might also consider using diffusion materials on your lights, which spread the light out and make it softer, reducing the intensity of reflections. If you’re using a monitor, try positioning it so that the lights aren’t directly reflecting off the screen. For those who wear glasses, tilting your head slightly or adjusting the light angle can often solve the problem. It’s about being observant during your setup and making small adjustments until those distracting bright spots disappear. You can find helpful tips on setting up your podcast equipment to minimize these issues.
Elevating Your Podcast Visuals With Creative Lighting
Beyond the basic three-point setup, there are several ways to add a unique flair to your podcast’s visual presentation. Think about how you can use light to tell a story or create a specific mood for your show. This is where you can really let your podcast’s personality shine through.
Incorporating Colored Gels For Ambiance
Colored gels, which are thin sheets of colored plastic you place in front of your lights, can dramatically change the feel of your podcast. For a warm, inviting atmosphere, try an amber or soft orange gel. If your podcast has a more modern or tech-focused theme, a cool blue or even a subtle purple can work well. Experimenting with different colors can help set the emotional tone for your viewers. You can even use different colors for your key and fill lights to create a more dynamic look.
Using Practical Lights For Authenticity
‘Practicals’ are lights that are visible within the frame of your shot. These could be desk lamps, floor lamps, or even string lights. Using practicals can make your set look more natural and lived-in, drawing your audience into the scene. For instance, a vintage desk lamp on your table can add character and a sense of history, especially if your podcast discusses older topics. Just be mindful of how these lights interact with your main lighting setup to avoid unwanted glare or shadows.
Experimenting With Patterns And Textures
Adding patterns and textures to your background can give your podcast a more polished and visually interesting look. You can achieve this by shining your lights through patterned gobos (stencils) or textured diffusers. For example, a gobo with a subtle geometric pattern can add depth to a plain wall without being too distracting. Another option is to use a light with a textured surface, like a frosted glass, to create a softer, more diffused background effect. It’s important to keep these elements subtle, so they complement rather than compete with your main subject.
Technical Considerations For Professional Podcast Lighting
Beyond the basic placement of lights, several technical aspects can significantly impact the professional look of your podcast. Getting these details right separates a good setup from a truly polished one. It’s about fine-tuning the light itself to best suit your needs and your audience’s perception.
Adjusting Color Temperature For Optimal Appearance
Color temperature, measured in Kelvin (K), dictates the warmth or coolness of your light. For a natural, inviting look that mimics daylight, aim for a range between 4500K and 5600K. This range generally provides a clean, neutral appearance that is pleasing to the eye and works well for most podcast settings. However, you might adjust this slightly based on your desired mood or the ambient light in your recording space. For instance, a slightly warmer temperature (around 3200K) can create a cozier atmosphere, while cooler temperatures might lend a more modern or clinical feel. Consistency in color temperature across all your lights is key to avoiding jarring visual differences.
Exploring Power Over Ethernet (PoE) Solutions
Power over Ethernet (PoE) offers a streamlined approach to powering and controlling your lighting setup. Instead of needing separate power cables and data cables for each light, PoE allows both to run through a single Ethernet cable. This simplifies installation, reduces cable clutter, and can make managing your lights much easier, especially in a dedicated podcast recording studio. It centralizes power delivery and data control, making adjustments and maintenance more efficient. This is particularly beneficial for creators who want a clean, professional aesthetic without the hassle of complex wiring.
Integrating DMX Control For Advanced Setups
For those seeking granular control over their lighting, Digital Multiplexing (DMX) is the industry standard. DMX allows you to control individual lights or groups of lights with precision, adjusting brightness, color, and even effects. This is typically managed through a DMX controller or software. While it has a steeper learning curve than simpler systems, DMX opens up possibilities for complex lighting scenes, synchronized effects, and dynamic adjustments during a recording. It’s a powerful tool for achieving highly specific looks and adapting your lighting dynamically to the content of your podcast.
Here’s a basic comparison of lighting control methods:
|
Feature |
Basic Control |
PoE Control |
DMX Control |
|---|---|---|---|
|
Power Delivery |
Separate Cable |
Single Ethernet |
Separate Cable |
|
Data Control |
Limited |
Ethernet |
Dedicated DMX Cable |
|
Adjustments |
On/Off, Dim |
Brightness, CCT |
Brightness, Color, Effects |
|
Complexity |
Low |
Medium |
High |
|
Ideal For |
Simple Setups |
Streamlined Installs |
Advanced Control |
Adapting Lighting For Diverse Podcast Formats
The way you light your podcast can change quite a bit depending on what kind of show you’re doing and how many people are involved. It’s not a one-size-fits-all situation. Getting the lighting right for each format helps make sure your viewers are focused on the content and that everyone involved looks their best.
Lighting Strategies For Interviews And Group Shows
For interviews or shows with multiple guests, the main goal is to make sure everyone is clearly visible and well-lit. A standard three-point lighting setup works well here, with a key light, fill light, and backlight for each person. This ensures a balanced look and keeps the focus on the conversation. If you have more than two people, you might need to adjust the placement of your lights to avoid harsh shadows or uneven illumination. Think about using softer, broader light sources to cover everyone evenly. Consistency across all participants is key to a professional feel.
Creating Dramatic Effects For Solo Presentations
When it’s just you on camera, you have more freedom to play with lighting to create a specific mood or style. For a more dramatic or artistic look, you could try techniques like Rembrandt lighting, which creates a distinctive shadow pattern on the face. This can add a sense of depth and character, especially for solo presentations that aim for a more serious or introspective tone. You can also experiment with using a single, stronger key light and less fill light to create more pronounced shadows, which can be quite striking.
Ensuring Consistent Illumination Across All Formats
No matter the format, maintaining a consistent look and feel for your podcast is important. This means your lighting choices should align with your show’s overall brand and style. Even when switching between interview formats and solo segments, try to keep some elements of your lighting consistent, like the color temperature or the general direction of the key light. This helps create a cohesive viewing experience for your audience. For instance, if you typically use a warm color temperature, stick with that across different show types. You can always adjust the intensity or placement, but keeping the color consistent helps tie everything together. Consider using lights that offer a wide range of adjustability to adapt to different scenarios without needing entirely new equipment. This approach helps maintain a professional appearance, whether you’re filming a casual chat or a more formal discussion. You might find that using a versatile light kit, like those designed for content creators, can be a good investment for various podcasting needs.
Here’s a quick look at how lighting might differ:
|
Format |
Primary Goal |
|---|---|
|
Interviews/Group Shows |
Even illumination for all participants |
|
Solo Presentations |
Mood creation, visual interest, subject focus |
|
Q&A/Panel Discussions |
Clear visibility, minimal distractions |
Future-Proofing Your Podcast Lighting Investment
As your podcast grows and your needs change, having a lighting setup that can adapt is important. You might want to add a co-host, bring on guests, or try out new visual styles. Building a flexible system from the start means you won’t have to replace everything later. Think about lights that offer a wide range of brightness and color temperature adjustments. This gives you options for different recording situations. Lights with interchangeable batteries and power sources are also good, so you’re not stuck with one way to power them.
Consider lights that have DMX control, even if you don’t plan to use it immediately. DMX is the standard for controlling professional lighting, and having it built-in means you can easily add more advanced controllers or automated setups down the line. This is a feature found in many professional studio setups. Also, look for lights that receive software updates. Companies that regularly release firmware upgrades can add new features or improve performance over time. Having USB-C ports or Bluetooth connectivity makes these updates easier. Investing in equipment that can be updated means your setup stays current without needing a complete overhaul. This approach saves you money and hassle in the long run.
When choosing equipment, consider scalability. Can you easily add more lights or accessories later? Modular systems are often a good choice because you can expand them piece by piece.
-
Prioritize lights with wide adjustability: Look for controls that allow fine-tuning of brightness and color temperature (e.g., 2700K to 6500K).
-
Opt for modular and scalable solutions: This allows you to expand your setup as your podcast grows.
-
Choose lights with future connectivity: Features like USB-C for updates or built-in DMX control prepare you for advanced setups.
Thinking ahead about your lighting setup can prevent costly upgrades and ensure your production quality remains high as your podcast evolves. It’s about building a system that grows with you, not one that you quickly outgrow.
For those looking to understand the broader lighting industry and product innovation, exploring insights from experienced professionals can be quite informative. For instance, learning about the work of individuals with extensive experience in the lighting sector, like Tom Garber, can provide a good perspective on industry trends and standards. This industry perspective can help inform your equipment choices.
Thinking about your podcast’s future? Smart lighting choices today mean better shows tomorrow. Don’t let outdated gear hold you back; invest wisely to keep your content looking its best. Learn how to pick lights that will last by visiting our website for expert tips and recommendations.
Bringing It All Together
So, we’ve gone over a lot of stuff about lighting for podcasts. It might seem like a lot at first, but really, it’s about making your show look good so people pay attention. Whether you’re using a simple setup at home or a full studio, getting the lighting right makes a big difference. Think about where your lights are, how bright they are, and even the color. Little changes can make your podcast look way more professional. Don’t be afraid to play around with different setups to see what works best for you and your show. Good lighting helps your audience connect with what you’re saying, and that’s what it’s all about.
Frequently Asked Questions
Why is lighting so important for podcasts?
Good lighting makes your podcast look professional and helps viewers connect with you. It’s like painting a picture with light, guiding the audience’s eyes and setting the mood for your show. Bad lighting can make your video look dull and turn viewers away, even if your audio is great.
What is the ‘three-point lighting system’?
It’s a common way to light a subject using three lights. You have a ‘key light’ as the main light source, a ‘fill light’ to soften shadows, and a ‘backlight’ to make you stand out from the background. It’s a basic but effective setup for a polished look.
How can I make my podcast lighting look more unique?
You can use colored gels in front of your lights to add different moods, like warm yellow for a cozy feel or cool blue for a modern look. You can also use lights to create interesting shadows or patterns in the background, or even include lamps that are part of the set itself.
What does ‘color temperature’ mean for lights?
Color temperature is how warm or cool a light looks. Lights are measured in Kelvin (K). For a natural look, aim for lights between 3200K and 4500K. This range usually makes people look good on camera without appearing too orange or too blue.
How should I position my main light (key light)?
A good starting point is to place your main light in front of you, slightly off to the side and a bit above eye level. This angle helps create some nice shadows that add shape to your face, making it look more interesting than if the light was directly in front.
What’s the best way to avoid glare, especially if I wear glasses?
Glare happens when light bounces directly off shiny surfaces like glasses or screens. Try adjusting the angle of your lights or moving them slightly. Sometimes using a diffuser, which softens the light, can also help reduce harsh reflections.